From the team at DeHaan Painting – Charlotte, NC
When people think about painting, they often picture the final result: a clean, freshly coated wall that transforms a room. But the truth is, what happens before a single drop of paint goes on the wall is just as important—if not more.
At DeHaan Painting, we pride ourselves on meticulous preparation. Why? Because proper prep leads to better adhesion, a smoother finish, and a paint job that lasts. A beautiful, durable result starts long before the roller comes out.
Here’s a look at how the pros do it—and why every step matters.
Step 1: Clear & Protect the Room
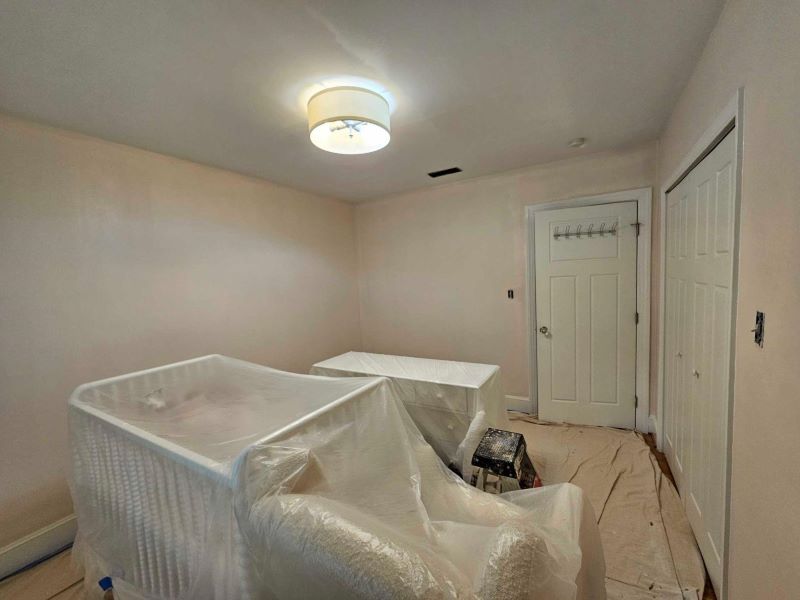
Before we even begin working on the surfaces:
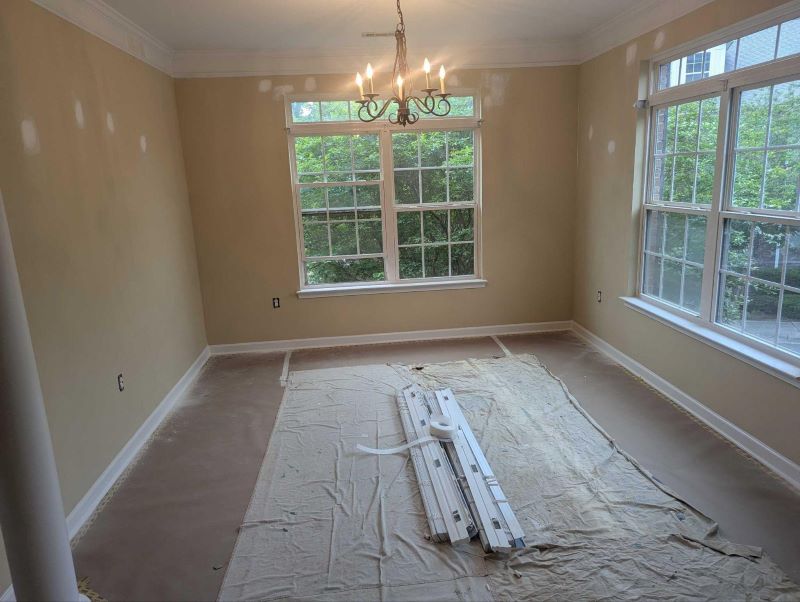
- Furniture is moved or covered with plastic or drop cloths.
- Floors are masked off with rosin paper and tape to avoid paint drips or sanding dust.
- Light switches and outlet covers are removed.
- Fixtures and hardware are taped off or taken down.
This not only protects your belongings but creates a safe, clean workspace for our crew.
Step 2: Clean All Surfaces
Paint won’t stick to dust, grease, or residues. We start by:
- Wiping down walls, trim, and baseboards with a damp rag or mild degreaser (especially in kitchens, bathrooms, or near vents).
- Using denatured alcohol or Krud Kutter for stubborn buildup.
- Vacuuming corners and sanding dust from previous work.
Clean surfaces are essential—paint bonds best to a surface free of contaminants.
Step 3: Dull Any Glossy Surfaces
One of the most critical prep steps—any surface that is shiny must be scuff sanded.
Why? Because paint needs something to grip onto. If you paint over glossy trim, doors, or cabinets without dulling the surface, the paint is more likely to peel or chip.
We use:
- Scuff pads or sanding sponges on trim, cabinets, doors, or any glossy wall paint.
- A liquid deglosser in some cases for hard-to-sand areas.
- A HEPA vacuum or tack cloth afterward to remove sanding dust.
Clean. Dull. Dry. That’s the standard for any surface we paint.
Step 4: Repair & Smooth the Walls
This is where attention to detail makes all the difference. We:
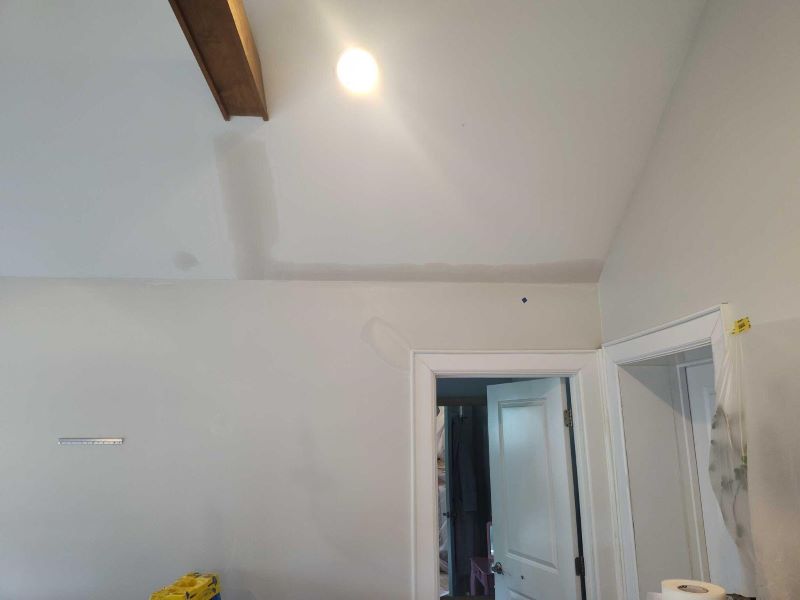
- Fill nail holes, dings, and minor cracks with spackle or joint compound.
- Address nail pops by resetting fasteners and repairing the drywall properly.
- Feather sand patched areas to blend seamlessly into the wall.
- Prime any repairs so the topcoat adheres evenly.
If needed, we can also handle more extensive drywall repairs or water damage before painting begins.
Step 5: Caulking Gaps & Sealing Edges
Paint doesn’t just improve how a surface looks—it also helps seal and protect it. We:
- Caulk gaps between trim and walls, baseboards, crown molding, and window/door casings.
- Use paintable, high-quality caulk to keep lines crisp and prevent future cracking.
- Ensure all caulk joints are smooth, clean, and dry before painting.
This step gives your paint job a polished, seamless appearance.
Step 6: Masking & Taping
Professional painters know that clean lines and sharp transitions require:
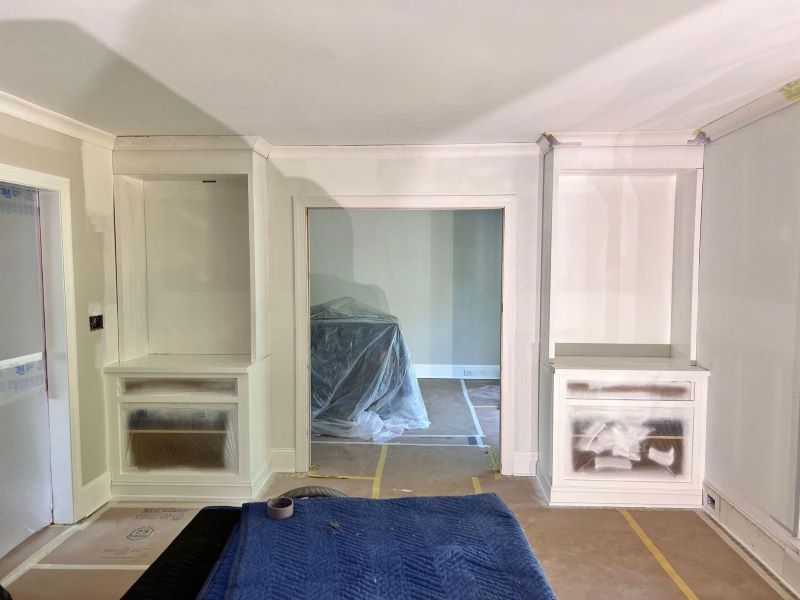
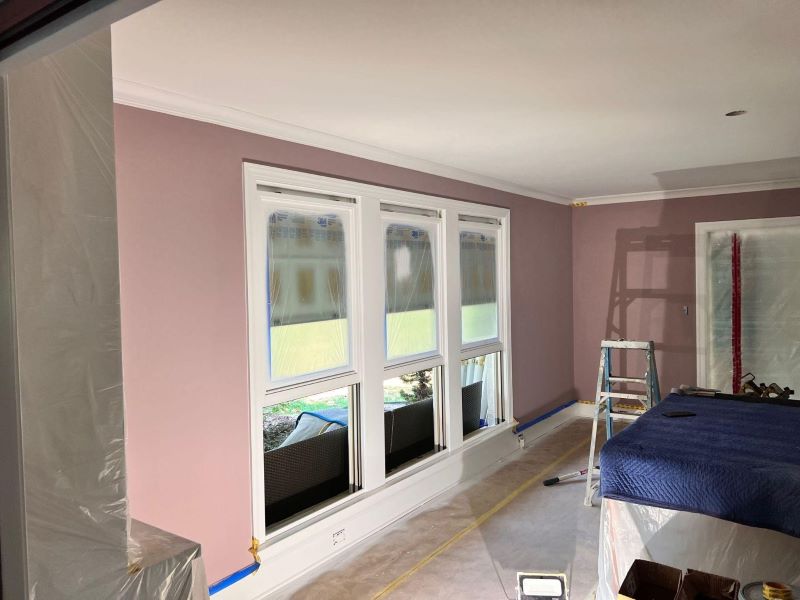
- Painter’s tape along ceilings, floors, and adjacent surfaces.
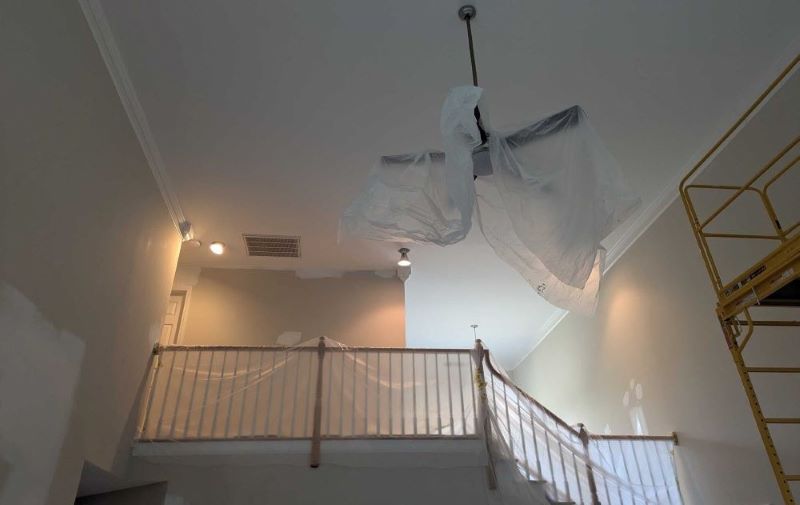
- Plastic sheeting or masking film to cover nearby areas.
- Zip walls or dust containment systems if major sanding or spraying is involved.
Taking the time to mask properly avoids unnecessary touchups and protects your home throughout the project.
Why It All Matters
Prep isn’t glamorous—but it’s what separates a short-lived paint job from one that looks great for years. At DeHaan Painting, we often get called to fix work that failed prematurely. In nearly every case, it wasn’t the paint that failed—it was poor preparation.
When you hire a professional, you’re not just paying for a coat of paint. You’re investing in:
✔ Surfaces that are properly repaired and sealed
✔ Finishes that resist chipping and peeling
✔ Straight lines, smooth walls, and long-lasting color
✔ A clean, respectful worksite and efficient process
Ready for a Paint Job That Lasts?
Whether you’re refreshing a single room or repainting your entire home, proper prep is non-negotiable—and it’s what DeHaan Painting is known for.
📞 Reach out today for an estimate or visit www.dehaanpaints.com to learn more about our process, our people, and why homeowners across Charlotte trust us to do the job right the first time.

Helping Thousands of Families in Plaza Midwood, Noda, Chantilly, Dilworth, Elizabeth, Myers Park, South Park, Barclay Downs and Surrounding Areas.
DeHaan Painting
“Charlotte’s Premier Painter”
Dock, Deck, Fence Staining – Interior House Painting – Exterior House Painting – Kitchen Cabinet Painting – Limewash Applications – Commercial Painting – Christmas Light Installer
Phone: (980) 224-3191
Email: info@dehaanpaints.com

